

Table of Contents
- Step 1: Calculate Your Room’s Square Footage
- Step 2: Use a Mini Split BTU Calculator as Your Starting Point
- Step 3: Adjust for the Factors That Change Your BTU Requirement
- How to Calculate Manual J Load for Mini Splits
- Oversized vs. Undersized Mini Split: What Goes Wrong
- Single-Zone vs. Multi-Zone: How to Size Mini Split Systems for Multiple Rooms
- SEER2 Rating and How Efficiency Affects Mini Split Sizing Decisions
- Conclusion
Last Updated: August 18, 2026
Getting the size of a mini split system wrong is one of the most expensive mistakes in HVAC. An undersized unit runs constantly and never reaches setpoint. An oversized one short cycles, fails to dehumidify, and burns out components prematurely. This guide walks through how to size mini split systems accurately, from basic square footage math to Manual J load calculations and multi-zone configurations.
Step 1: Calculate Your Room’s Square Footage
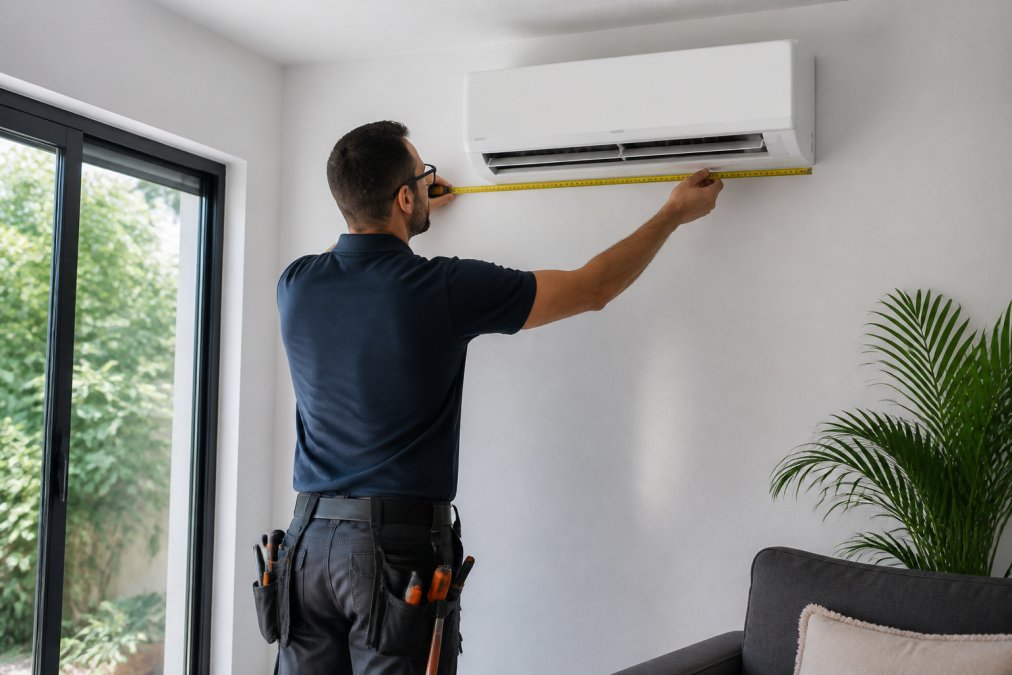
Square footage is the foundation of every mini split sizing decision. Measure the length and width of the space in feet, then multiply them together. A room that is 15 feet by 20 feet is 300 square feet. For irregularly shaped rooms, break the floor plan into rectangles, calculate each section separately, and add the totals.
A common mistake is measuring only the primary living area and forgetting connected spaces. If a kitchen opens into a dining area with no wall between them, treat the combined area as one zone. For multi-story spaces or rooms with vaulted ceilings, volume matters more than floor area, which is why ceiling height gets its own adjustment in Step 3.
Measure twice. A 10% error in square footage translates directly into a 10% error in BTU requirement before you’ve even accounted for insulation, climate, or sun exposure.
Step 2: Use a Mini Split BTU Calculator as Your Starting Point
A mini split BTU calculator gives you a baseline cooling capacity number based on square footage. BTU stands for British Thermal Units, the standard unit for measuring heating and cooling energy. Most calculators apply roughly 20 BTU per square foot for average conditions.

That baseline is a starting point only. Treat it as the number you will adjust, not the number you will install. The ACCA Manual J residential load calculation standard exists precisely because simplified BTU-per-square-foot formulas miss the variables that matter most in real buildings.
BTU Per Square Foot Reference Table
| Room Size (sq ft) | Base BTU (20 BTU/sq ft) | Adjusted Range (high load conditions) |
|---|---|---|
| 150 sq ft | 3,000 BTU | 4,000 – 5,000 BTU |
| 300 sq ft | 6,000 BTU | 7,000 – 9,000 BTU |
| 500 sq ft | 10,000 BTU | 12,000 – 15,000 BTU |
| 750 sq ft | 15,000 BTU | 18,000 – 22,000 BTU |
| 1,000 sq ft | 20,000 BTU | 24,000 – 30,000 BTU |
| 1,500 sq ft | 30,000 BTU | 36,000 – 45,000 BTU |
High-load conditions include poor insulation, south- or west-facing glass, hot climates, and high occupancy.
Step 3: Adjust for the Factors That Change Your BTU Requirement
The base BTU number is rarely correct. Every building has a unique combination of factors that push capacity requirements up or down.
Ceiling Height
Standard load calculations assume 8-foot ceilings. For ceilings between 9 and 10 feet, increase your BTU estimate by roughly 10%. Ceilings at 12 feet or higher warrant a 20-25% upward adjustment. Vaulted ceilings compound this further because warm air stratifies at the peak.
Insulation Quality and the Thermal Envelope
Thermal envelope is the assembly of walls, roof, windows, and floor that separates conditioned space from unconditioned space. A tight, well-insulated thermal envelope dramatically reduces the heating and cooling load the mini split must handle.
Older homes with minimal wall insulation or single-pane windows lose conditioned air much faster than modern construction with spray foam and double-pane glazing. For poorly insulated spaces, add 10-20% to your base BTU figure. For well-insulated, air-sealed construction, you may reduce the base figure slightly. The Department of Energy insulation R-value recommendations by climate zone provides zone-specific targets that inform your BTU adjustment.
Sun Exposure, Window Surface Area, and Room Orientation
South- and west-facing rooms absorb significantly more solar heat gain during peak afternoon hours. A room with large west-facing windows in a hot climate can require 30% more cooling capacity than the same room facing north.
When glazing exceeds roughly 15% of the floor area, heat gain becomes a primary driver of load. Shading from overhangs, trees, or exterior blinds reduces this impact.
Never ignore room orientation when sizing for cooling-dominant climates. A west-facing room sized on square footage alone will run the compressor at full capacity every afternoon and still fall short of setpoint.
Climate Zone and Humidity
Climate zone determines both the magnitude of your heating and cooling loads. A mini split in a hot, humid climate like coastal Florida faces a fundamentally different challenge than the same unit in a dry, mild climate.
Humidity adds latent heat to the equation, the energy required to remove moisture from the air, separate from sensible heat that raises air temperature. In humid climates, a mini split must handle both simultaneously. Undersizing in high-humidity environments means inadequate dehumidification, which leads to mold risk and occupant discomfort. In cooling-dominant climates, increase your base BTU estimate by 10-15% to account for latent load.
Occupancy and Heat-Generating Appliances
People generate heat. A room regularly occupied by four or more people needs more cooling capacity than the same space used by one. Add approximately 600 BTU per person beyond the first two occupants.
Appliances matter too. A home office with multiple monitors or high-wattage lighting adds meaningful heat gain. A kitchen is an extreme case: cooking appliances can add thousands of BTU to the load during meal preparation.
How to Calculate Manual J Load for Mini Splits
Manual J is the ACCA-developed residential load calculation methodology that accounts for every variable affecting heating and cooling demand in a specific building. Unlike rules of thumb, Manual J produces a room-by-room BTU requirement based on actual construction data, local design temperatures, and building geometry.
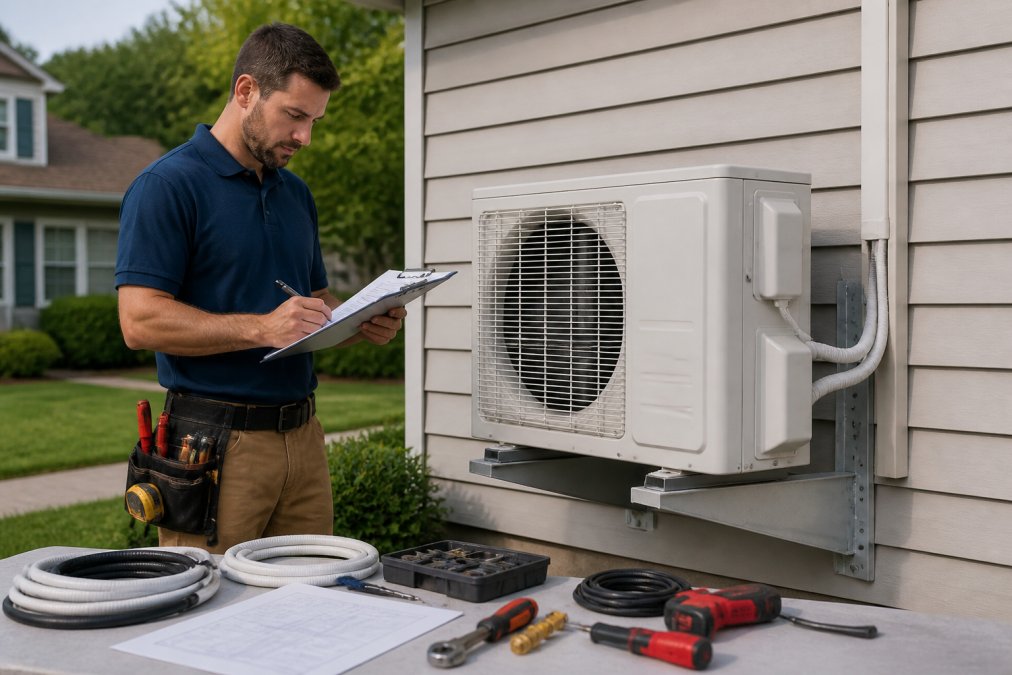
A Manual J calculation requires the following inputs:
- Local design temperatures – the outdoor dry-bulb temperature used to represent peak summer and winter conditions for the specific location
- Building orientation – which direction each wall and window faces
- Wall, ceiling, and floor construction – materials and R-values for each assembly
- Window specifications – size, glazing type, and U-factor for each window
- Infiltration rate – how much outside air leaks into the building
- Internal gains – occupancy, lighting, and appliance heat generation
- Duct losses – only relevant when the mini split connects to any ducted distribution
The output is a room-by-room sensible and latent load, which you then match to available mini split capacities. Manual J is the industry standard required by many building departments for permit approval and is the only defensible basis for sizing decisions in high-performance buildings.
Manual J isn’t optional for complex projects. For any multi-zone installation, poorly insulated space, or climate-exposed building, a proper load calculation protects both the equipment and the installer’s liability.
Most HVAC software packages include Manual J modules.
Oversized vs. Undersized Mini Split: What Goes Wrong
Most homeowners fear undersizing, but oversizing causes more long-term damage.
An oversized mini split reaches setpoint quickly, then shuts off. This short cycling pattern means the unit never runs long enough to remove humidity effectively. The result is a space that feels cold but clammy, with relative humidity staying uncomfortably high. Short cycling also accelerates compressor wear because startup draws the highest electrical current in the operating cycle.
An undersized mini split runs continuously at full capacity without reaching setpoint during peak conditions. In hot or humid climates, it means the equipment never delivers the comfort the occupant is paying for. Continuous operation at maximum load also shortens compressor life.
| Problem | Oversized Unit | Undersized Unit |
|---|---|---|
| Comfort issue | Cold and humid, temperature swings | Never reaches setpoint in peak conditions |
| Dehumidification | Poor, cycles off before removing moisture | Adequate if running continuously |
| Equipment wear | Short cycling damages compressor | Continuous max-load operation shortens lifespan |
| Energy use | Higher than necessary | Higher than necessary |
The fix for both problems is correct sizing before installation.
Single-Zone vs. Multi-Zone: How to Size Mini Split Systems for Multiple Rooms
Single-zone systems pair one outdoor compressor with one indoor air handler. The sizing logic is straightforward: match the unit’s BTU rating to the load calculation for that one space.
Multi-zone configurations connect one outdoor unit to two or more indoor air handlers, each serving a separate room or zone. The outdoor unit must be sized for the simultaneous peak load of all connected zones, not the sum of each zone’s individual peak. Load diversity means the outdoor unit can often be smaller than the simple sum of all indoor units.
However, most manufacturers require that the total indoor unit capacity not exceed the outdoor unit’s rated capacity by more than a defined percentage, typically 130%. For multi-zone sizing, run a Manual J calculation for each zone individually, identify the peak simultaneous load across all zones, and select an outdoor unit rated to handle that combined demand. Consult the manufacturer’s engineering data for specific indoor-to-outdoor capacity ratios before finalizing equipment selection.
SEER2 Rating and How Efficiency Affects Mini Split Sizing Decisions
SEER2 (Seasonal Energy Efficiency Ratio 2) is the current federal efficiency rating standard for air conditioning equipment. A higher SEER2 rating means the unit delivers more cooling per unit of electricity consumed.
A high-SEER2 unit does not compensate for incorrect sizing. An oversized 25 SEER2 unit that short cycles will perform worse in practice than a correctly sized 18 SEER2 unit that runs proper full cycles.
When the calculated load falls between available capacities, a high-efficiency unit at the lower capacity will often perform adequately in mild conditions while consuming less energy than the oversized alternative. The Department of Energy minimum efficiency standards for residential HVAC set regional SEER2 minimums that vary by climate zone. Equipment purchased for installation must meet the minimum for the installation location.
For contractors and homeowners sourcing equipment, Cedars HVAC carries mini split systems from trusted industry brands across a range of SEER2 ratings, with contractor pricing and free nationwide shipping on every order.
Sizing a mini split system correctly requires more than a square footage estimate. The combination of insulation quality, climate zone, sun exposure, occupancy, and humidity all shift the real-world BTU requirement away from any simplified formula. For straightforward single-zone installs, a careful adjustment of the base BTU figure handles most cases. For multi-zone systems, poorly insulated buildings, or permit-required projects, a Manual J load calculation is the only reliable method. Cedars HVAC stocks over 2,400 HVAC parts and equipment, including mini split systems matched to the specifications you’ve calculated, with contractor pricing and free shipping nationwide.
Frequently Asked Questions
What size mini split do I need for a 20×20 room?
A 20×20 room is 400 square feet. At the standard rule of thumb of 25 BTU per square foot, that points to a 10,000 BTU unit. However, a 12,000 BTU (1-ton) mini split is the most practical choice because it is the closest standard capacity above that estimate. Rooms with high ceilings, poor insulation, significant sun exposure, or hot climates like the South or Southwest may require moving up to a 15,000 BTU unit. A Manual J calculation gives you the most accurate answer.
How many square feet will a 12,000 BTU mini split cool?
A 12,000 BTU mini split is generally rated for roughly 400-550 square feet under average conditions. That range shifts based on insulation quality, ceiling height, climate zone, and sun exposure. In a well-insulated room in a mild climate, 550 square feet is achievable. In a poorly insulated space in a hot, humid region, the same unit may struggle to keep up beyond 350-400 square feet. Use actual load calculations rather than square footage alone to confirm the right size mini split for your situation.
Is it better to undersize or oversize a mini split system?
Neither is acceptable for long-term performance, but oversizing causes more problems in practice. An oversized mini split short cycles, meaning it reaches the thermostat setpoint too quickly and shuts off before completing a full dehumidification cycle. The result is a room that feels cold but clammy, especially in humid climates. An undersized unit runs continuously, fails to reach setpoint on the hottest days, and wears out faster. Correct sizing through a proper BTU calculation or Manual J load analysis is the only way to avoid both outcomes.
Does ceiling height affect mini split sizing?
Yes. Standard BTU-per-square-foot charts assume an 8-foot ceiling. Every foot above that increases the volume of air the system must condition. For a room with 10-foot ceilings, multiply your base BTU figure by roughly 1.25. Vaulted or cathedral ceilings in rooms above 12 feet can push the required capacity up by 30-50% compared to the same floor area with standard ceiling height. Always factor ceiling height into your load calculation before selecting a unit.